How to install a liquid screed floor – the ultimate guide
If you are wondering how to install a liquid screed floor, read our guide below where we will discuss the benefits, the different types of floor screed available, preparation for your project, drying time, as well as other important advice.
Whether you are an architect or contractor working on a project with a requirement for a screed floor, or you are a homeowner looking to upgrade your home with a screed floor finish, liquid screed is increasingly used on construction projects as a cost-effective way to create smooth, even floors.
The guide below helps to inform you of the various stages of a screed installation, including best practice guidelines for you to follow. However, if you feel you would like to work with a contractor to install your liquid screed floor, we are always on hand to help here at Clockwork Screed.
At Clockwork Screed, we are a trusted provider of quality screed floor installation in Greater Manchester, Cheshire and beyond, excelling in the sourcing, delivering, and installing liquid floor screeding.
We have over thirty years’ experience and expertise in concrete and use state-of-the art mobile screeding plants that offer a more cost-effective, sustainable, and reliable floor screeding solution.
What is a liquid screed and how is it different to a traditional screed?
Liquid screed is a modern alternative to traditional screeds such as cement-based and anhydrite screeds. It offers several advantages in terms of installation and performance.
Unlike traditional screeds, liquid screed is ready-mixed on site in our mobile screeding vehicles, and pumped onto the floor, resulting in a faster and more efficient installation process.
One key characteristic of liquid floor screed is its self-levelling ability. This means that it naturally spreads evenly over the floor without the need for manual levelling. This ensures a flat, level, and smooth surface, reducing the need for additional finishing.
In contrast, traditional screeds require manual mixing and levelling. This can be time-consuming and labour-intensive, especially for larger areas.
Traditional screeds also tend to have a higher risk of air bubbles and uneven drying, leading to potential problems in the long run.
Liquid screed is particularly well-suited for underfloor heating systems due to its excellent thermal conductivity. The screed flows easily around the heating pipes, ensuring efficient heat distribution and reducing energy bills.
If you are looking for an underfloor heating system for your screed floor, we can also help you with this with our sister company Clockwork Underfloor Heating. This means one point of contact for you to manage your project, making it easier and a more effective process.
To round up, liquid screed offers significant advantages over traditional screeds. Its pumped installation and self-levelling properties result in a faster and more effective installation process.
It also provides a smooth and level surface, perfect for underfloor heating systems. By choosing liquid screed, you can achieve a high-quality, durable, and energy-efficient floor for your building project.
Key preparation steps before laying liquid screed
Subfloor preparation
The subfloor must be adequately prepared before laying liquid screed.
· Remove all loose materials, dust, grease and debris
· Check the subfloor is structurally sound with no movement, sagging or bends
· The levels and falls (intentional slopes) should be correct, particularly in areas where drainage is needed
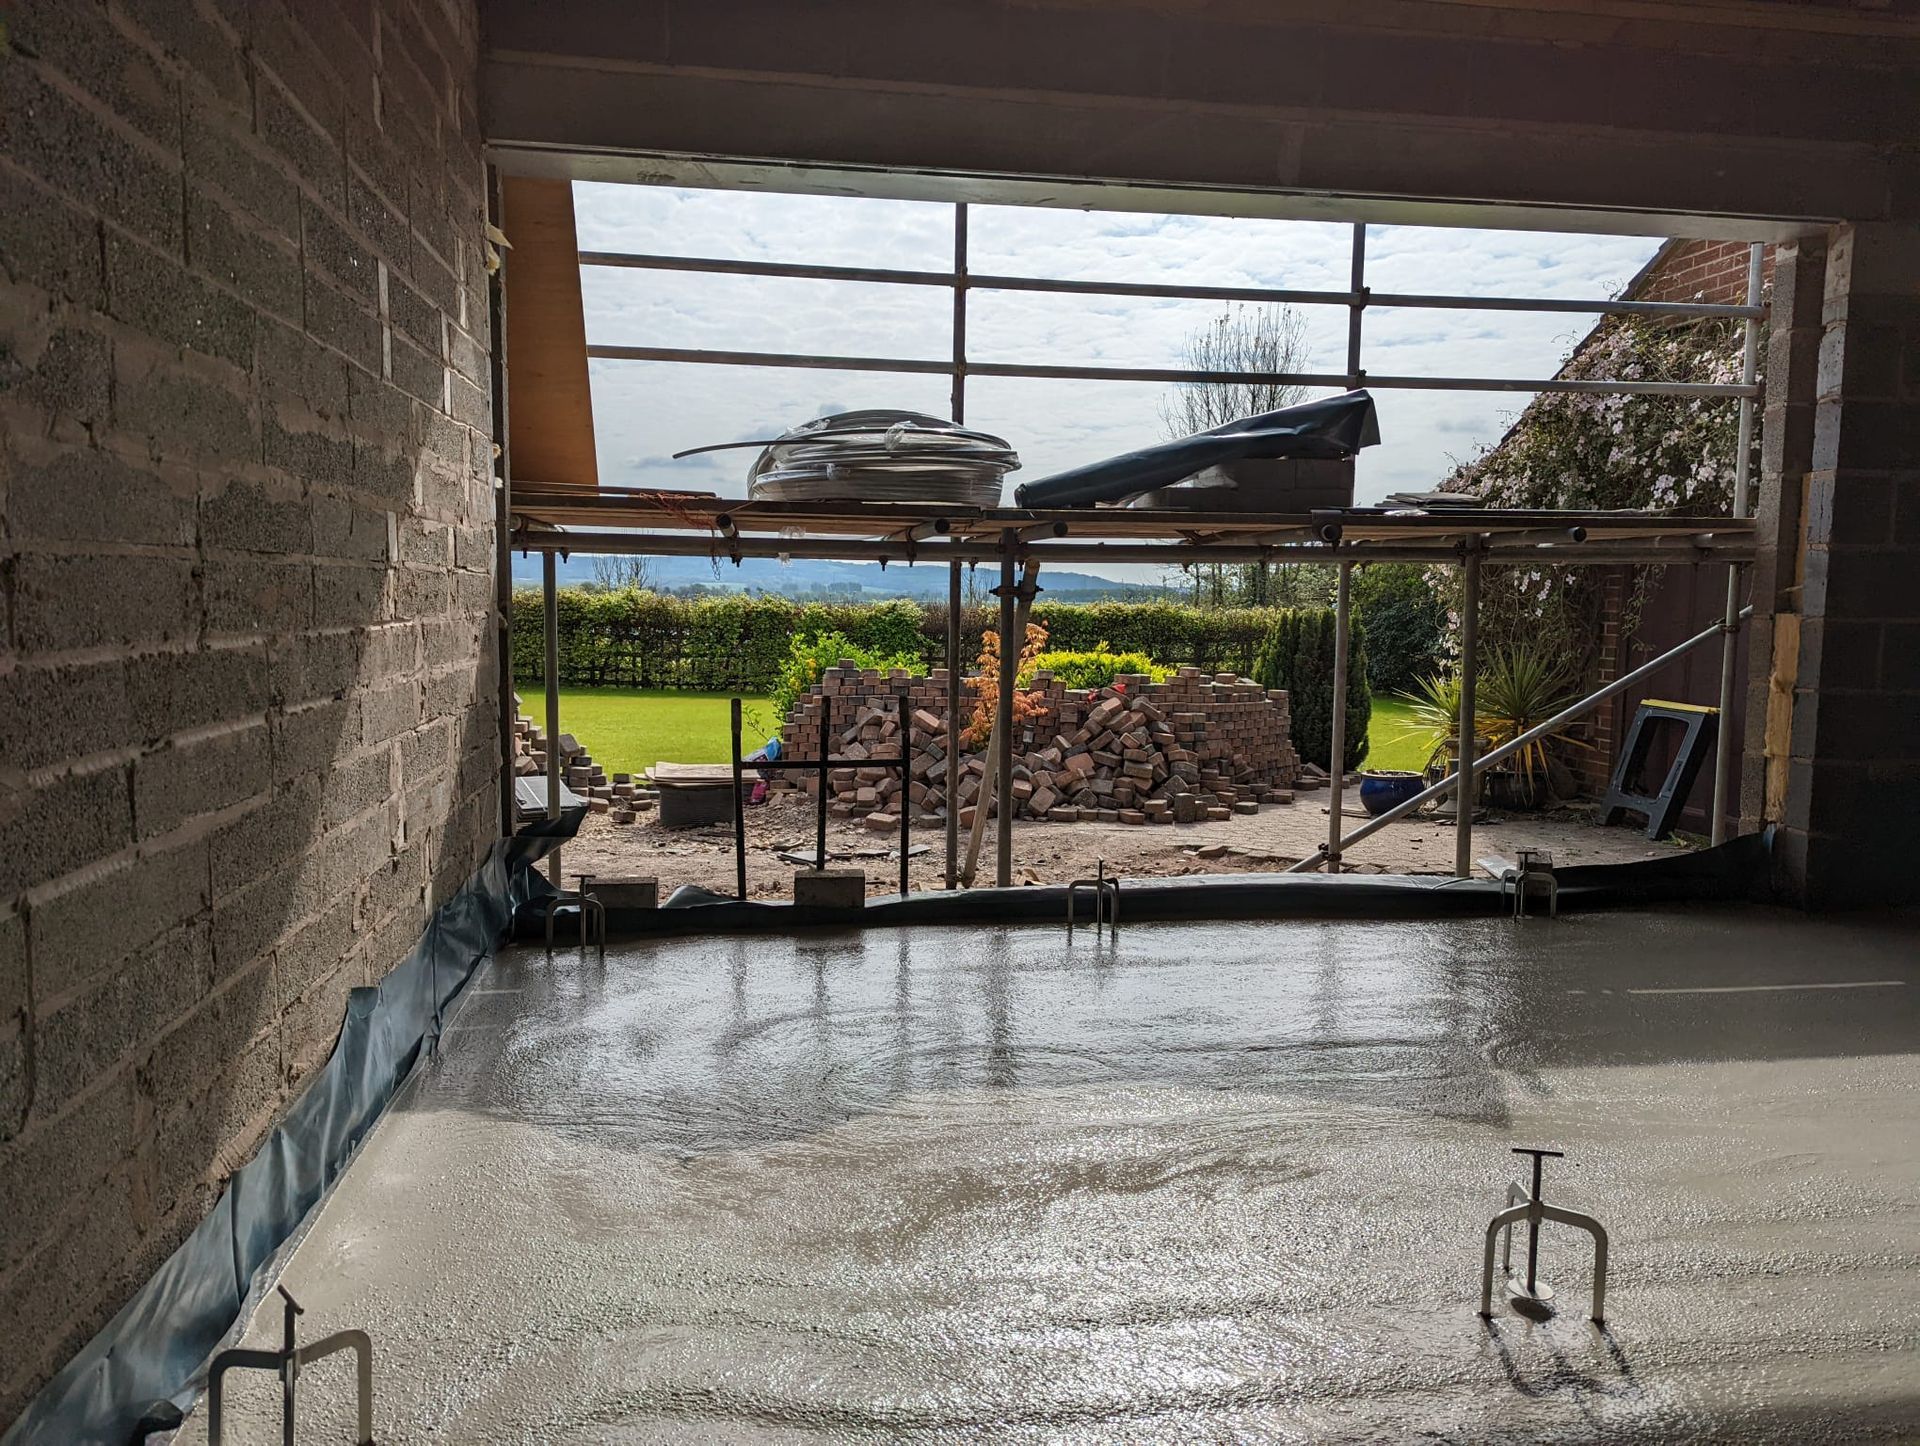
· A watertight dampproof membrane (DPM) should be applied to prevent moisture from rising into the screed which will damage the flooring. Ensure the entire floor is covered, and all joints, overlaps and edges are sealed.
Apply expansion foam
Expansion foam should be inserted around the edges of the area, and at joints, so that the liquid screed can expand and contract in response to temperature changes which could otherwise cause cracking or lifting.
Install insulation
Lay insulation, if specified. Sometimes a separating layer or slip membrane is also applied on top of the insulation.
Test underfloor heating
If underfloor heating is installed, check this is fully operational before applying screed.
Common problems during installation and how to avoid them
Common screed installation problems include:
- Poor subfloor preparation – the subfloor must be clean without any dust, particles, grease or debris
- Trapped moisture – leads to screed failure and long-term damage
- Incorrect depth of screed – if the screed is laid too thinly it can crack or create weak points that impact the floor’s capacity for load bearing
- Uneven or rushed pouring – creates inconsistencies in screed thickness and problems with self-levelling
- Impatience with drying times – factors such as temperature, humidity and the thickness of the screed impact drying times. If the screed is not allowed to dry sufficiently, remedial works are likely to be necessary
- No expansion foam or joints – without expansion foam or joints the screed is likely to crack or lift, causing structural damage
- Underfloor heating – the UFH system must be pressure-tested before liquid screed is poured on top, and the pipes secured to avoid floating. If the pipes move or the screed isn’t applied correctly, the performance of the system is compromised.
To avoid such costly problems with screed installation, always follow the manufacturer’s mixing and installation instructions to the letter. Ensure adequate timescales have been planned to allow the screed to be laid and dried ready for a final floor covering. Always use quality materials and maintain a stable environment with controlled temperatures and ventilation.
The best way to ensure the most professionally laid and effective screed installation is to request the services of Clockwork Screed.
How to choose a specialist installer for liquid screed
When looking for a specialist installer for liquid screed, check for the following:
- Experience in the industry and expertise in similar projects
- Clear, detailed pricing broken down by materials and labour
- Confirmed availability and project timescales
- Reviews and testimonials from previous customers
- Industry accreditations and certifications
- Adequate insurance to protect you from liability in the event of a problem or accident
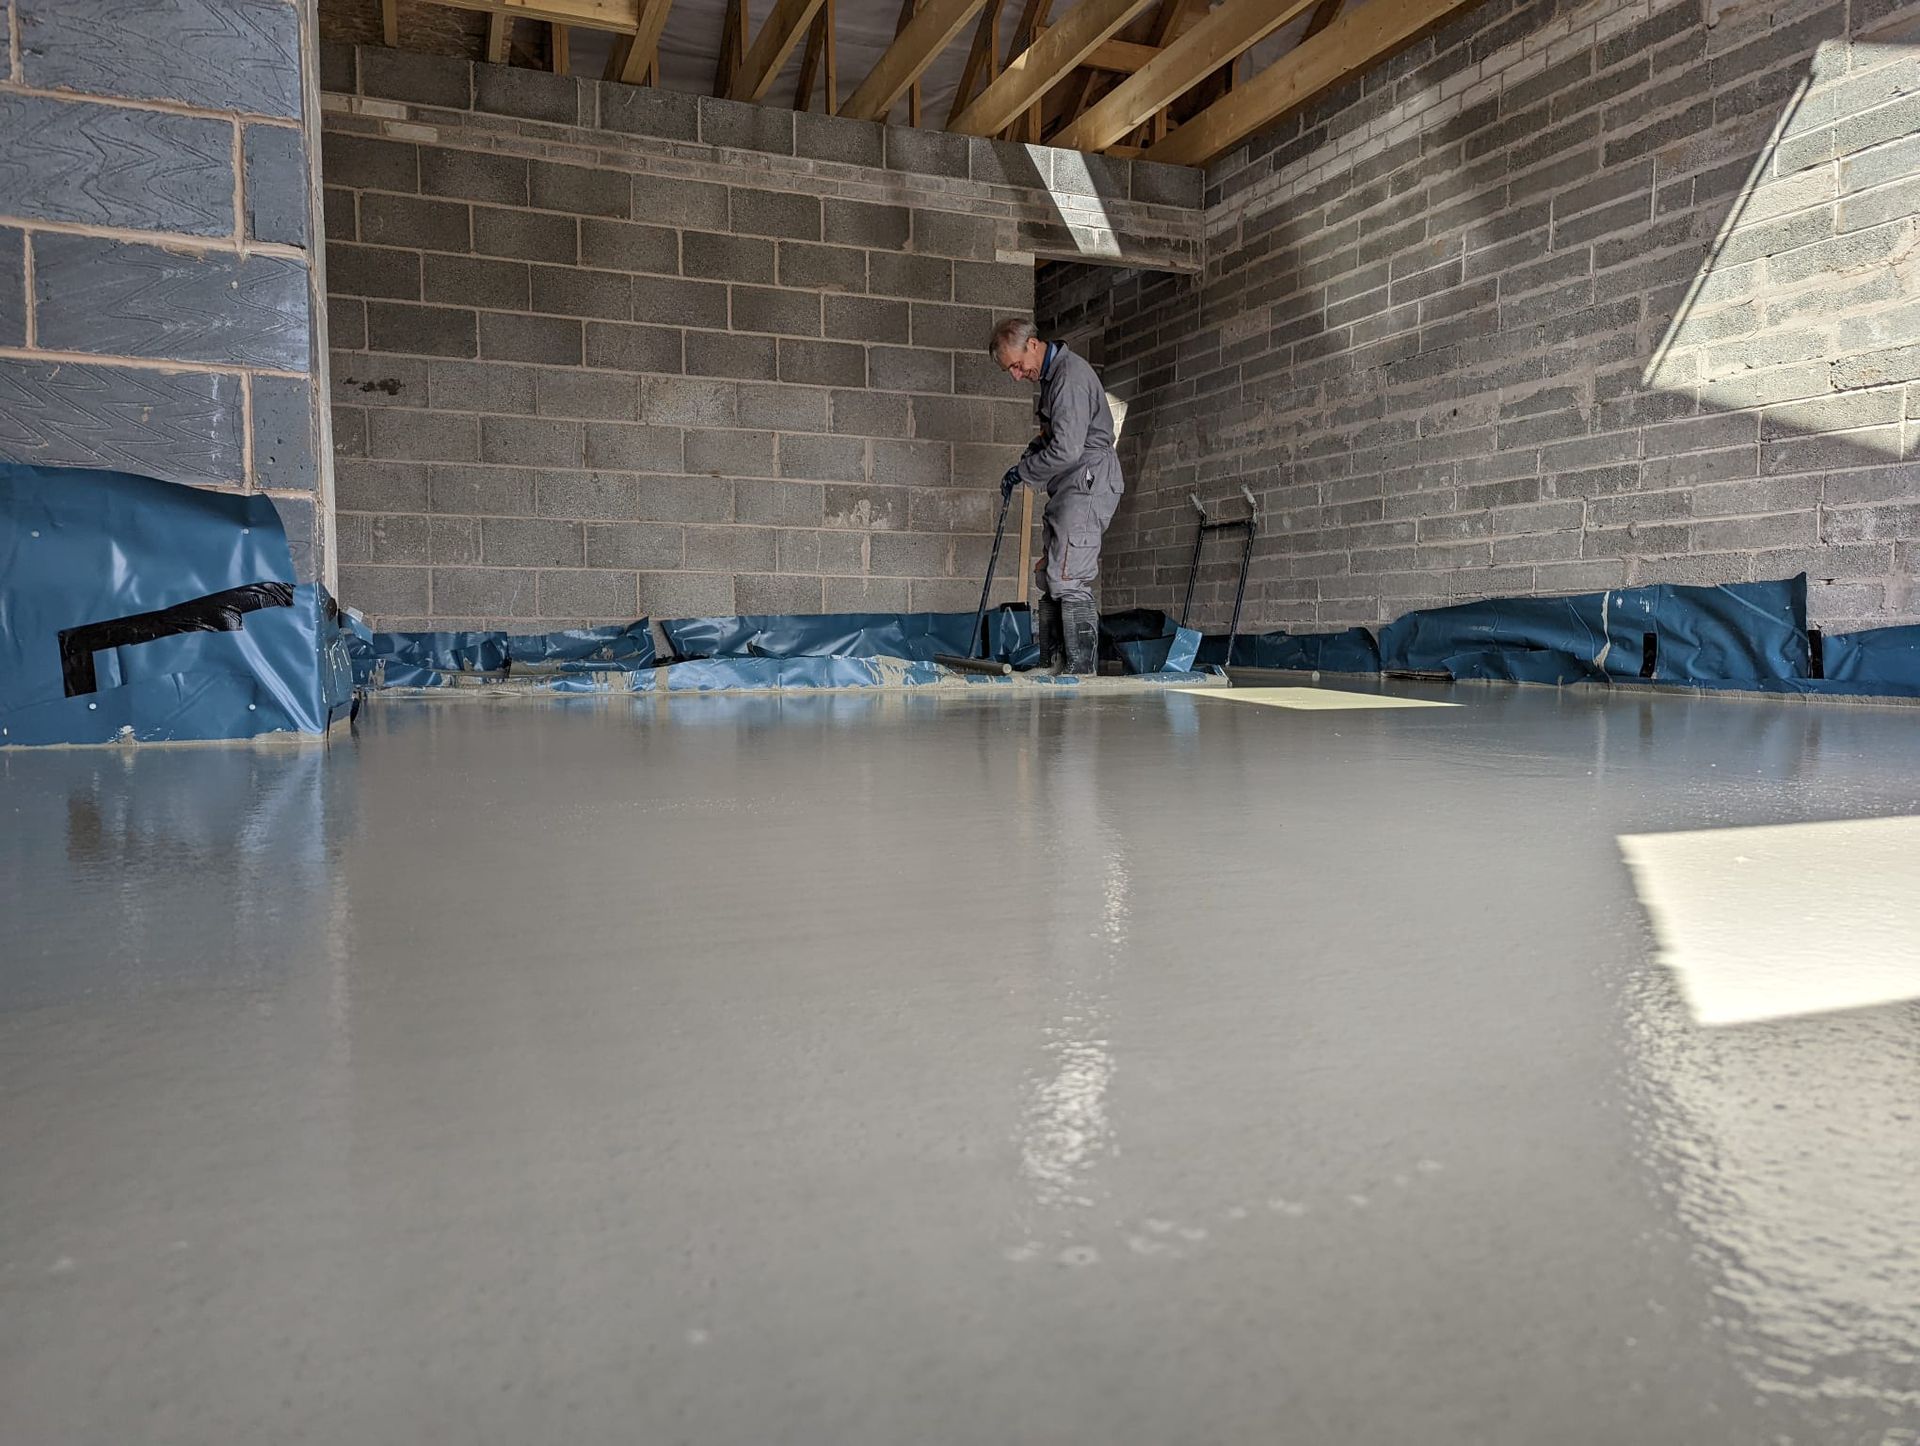
How to pour liquid screed
Pouring liquid screed correctly is crucial for achieving a smooth and level floor surface. Here is a step-by-step guide to help you through the process:
1. Check for watertightness: Before pouring the liquid screed, ensure that the area is watertight. This means sealing any gaps or cracks in the subfloor to prevent moisture from seeping through.
2. Prepare the pump: Set up the pump system according to the manufacturer's instructions. Connect the hose, making sure it reaches the pouring area without any obstacles.
3. Start pouring the screed: Begin pouring the liquid screed into the area, starting from one end and working your way towards the opposite side. Maintain a consistent flow rate to ensure an even application.
Remember to follow the manufacturer's guidelines for drying times and curing processes. Properly poured liquid screed will provide a flat, level surface that is ready for the application of your chosen floor finish.
If you need assistance with installing your liquid screed, talk to our team today at Clockwork Screed. You can reach us by telephone 0161 546 6945 or email contact@clockworkscreed.co.uk and we are happy to help.
Our team can organise your screed installation, visit your site, prepare the installation, and carry out laying the screed with minimal disruption to your site. Leaving you more time to focus on other aspects of your project.
Drying time for liquid screed
“How long does it take for the liquid screed to dry?” is a common question we are asked at Clockwork Screed. Drying time for liquid screed can vary depending on several factors, including the type of screed used and the ambient conditions during installation.
The cementitious screeds we use is a fast drying option, and generally allows footfall within 24 to 48 hours.
To achieve optimal drying, it is important to consider the ambient temperature and ventilation in the area. Higher temperatures and good airflow can help accelerate the drying process.
During the initial drying phase, it is recommended to avoid heavy or permanent items on the screed surface for at least 7 days. This allows sufficient time for the screed to fully cure and achieve its maximum strength.
Underfloor heating and liquid screed
Underfloor heating combined with liquid screed offers numerous benefits, including reduced energy consumption and optimised heat distribution.
By using underfloor heating, heat is evenly spread across the entire floor, resulting in a more comfortable living environment. This efficient heat distribution also allows for lower energy bills, as the warmth is directed upwards rather than lost through walls or windows.
It benefits homeowners with a warmer home and reduced energy bills. It benefits architects and contractors as their projects will be more energy efficient and lower bills for their clients.
FAQs
How low does the moisture content of the screed need to be before I can install a floor covering?
Clockwork Screed liquid floor screed must have a moisture content no higher than 2.5%CM (anhydrite screeds need to be much lower at 0.5%CM) or a relative humidity of 75%.
How soon can I walk on a liquid screed floor after installation?
Our cementitious liquid floor screed can accept foot traffic 24-48 hours post installation.
How soon after screed is laid on underfloor heating can I switch the UFH system on?
You can switch the UFH system on at a low temperature 7 days after screed installation. The temperature should then be gradually increased over the following days. This is already on the page so you may want to take some of this out. Have left it in, in case the page is being rewritten/restructured.
Why choose Clockwork Screed for your next project?
Clockwork Screed are screed floor installers covering the North West of the UK, and beyond. We have over thirty years of construction experience. We continually innovate to improve our processes which is how our state-of-the-art mobile screed factories originated.
For more information on how to install liquid floor screed, you can reach us by telephone 0161 546 6945 or email us
contact@clockworkscreed.co.uk and we are happy to help.


